How to make a paper snowflake Christmas ornament | DIY
The other day my daughter was sitting on the floor of my office playing with a few of my paper punches and trying her best to use up all my paper, when an idea suddenly popped into my head for an ornament.
After playing around with a few ideas and wasting even more paper, I came to the conclusion that I had a really cute (and super cheap) homemade gift idea, or nifty little holiday decoration…and it’s pretty ridiculously simple, too. I know it’s a million degrees outside and Christmas is forever away, but well…I’ll just play the “Christmas in July” card…and aside from that, it’s never too early to start thinking about Christmas gifts, right?
No grumbling about how it’s too early for Christmas. ChristmasChristmasChristmas! Okay, let’s go!
Here’s what you’ll need:
- A Styrofoam ball. I used a 3″ size, but you could use any size you want.
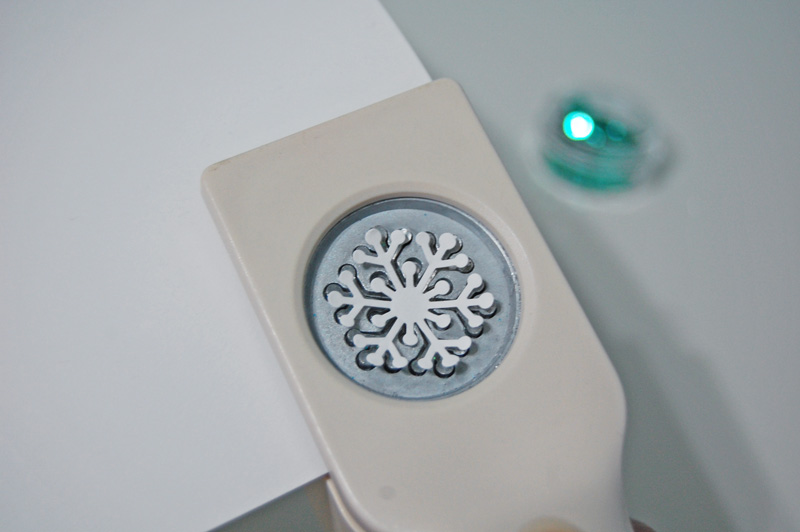
- A paper punch with a cool shape, as long as it’s relatively small; I would stick with an inch or less. For this ornament, I used a 1″ Martha Stewart snowflake punch. (Curse you, Martha Stewart craft section at Michaels…curse you).
- 2 sheets of white cardstock.
- Lots and lots of straight pins
- Lots and lots of sequins…I used aqua blue.
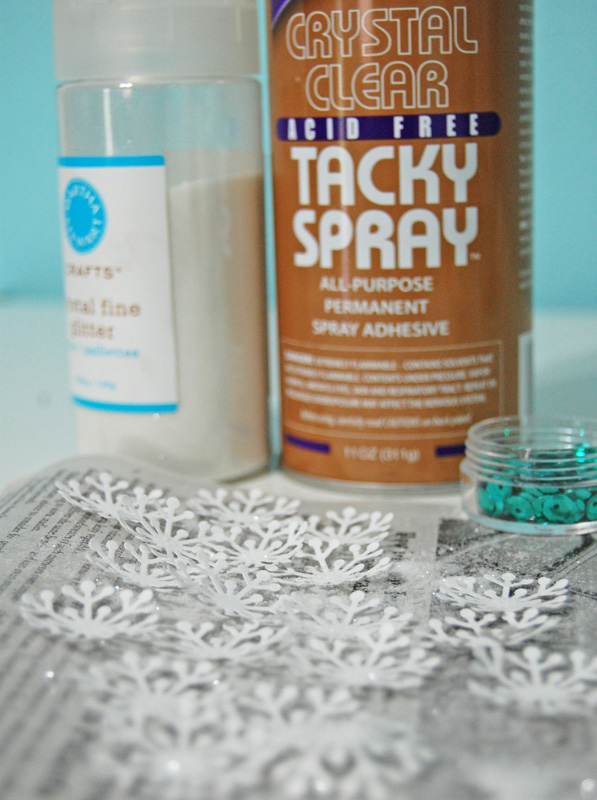
- Glitter (Thanks again, Martha..)
- About 6″ of ribbon to make the hanger
- And…nothing else. I’ll just continue with this extra bullet point here so this ornament seems more intricate than it really is.
- Oh wait, there IS something else…glue, of course! (You know how some bartenders wear a bottle opener strapped to their arm? I wear glue like that).
First you’ll need to punch out lots of little snowflakes (or whatever shape you are using). The number of punches will vary depending on the size of your punch and the size of your styrofoam ball…for my snowflake ornament, I probably used about 100 snowflakes. (I also doubled them up…see below). I used cardstock for this shape, because the edges of the snowflake were so flimsy, and I was afraid thinner paper would rip or bend easily…but a thinner (and less painful to punch out a million pieces of) paper would probably work perfectly fine for a more solid shape.
After I punched out all the little snowflakes and my hand cramps had subsided, I decided I wanted to sparkle them up a little bit with some white glitter…if you want to do this too, just spread them out on a newspaper, and lightly (lightly!) spray a tiny bit (a tiny bit!) of glue across them, and then sprinkle on the glitter. I sprayed a little too much on a few of the snowflakes, and those poor guys didn’t make it. And so, just a teeny bit (a teeny bit!) will do the trick (the trick!).
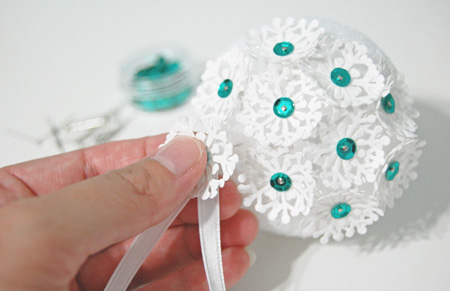
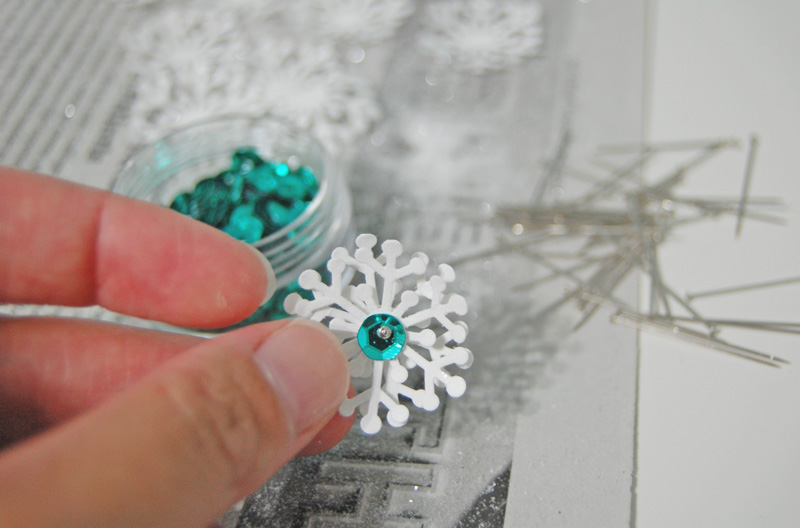
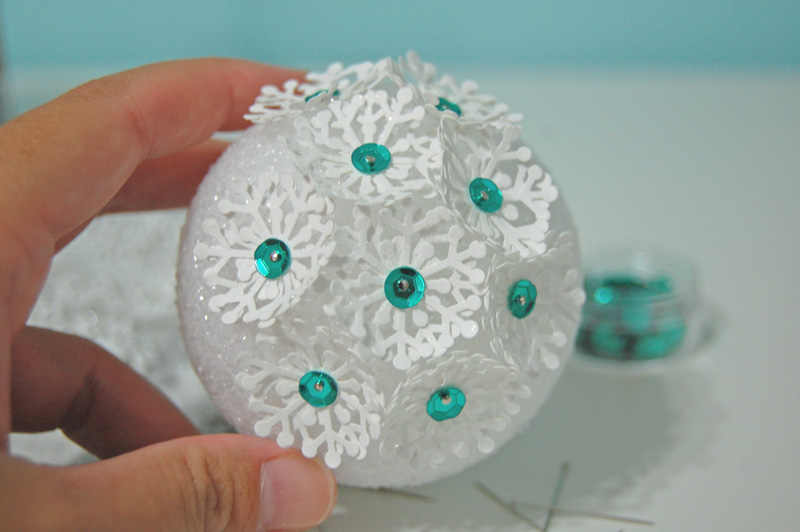
Finally time to start making the ornament…add a sequin to a pin, and then stick the pin through the centers of two snowflakes. I doubled up the snowflakes, unevenly, to make them look more full, but you may not need or want to do this with other shapes.
And then stick that one, and a whole bunch more, into the Styrofoam ball…easy peasy, snowflake squeezy.
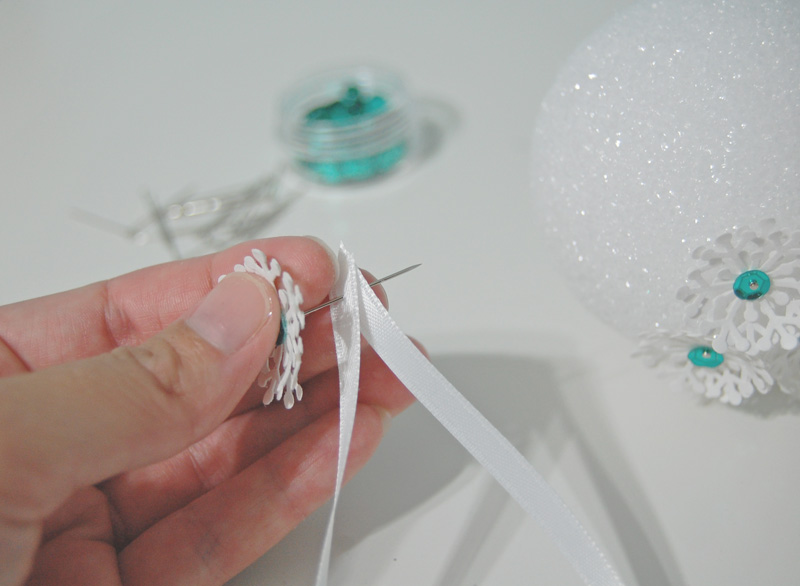
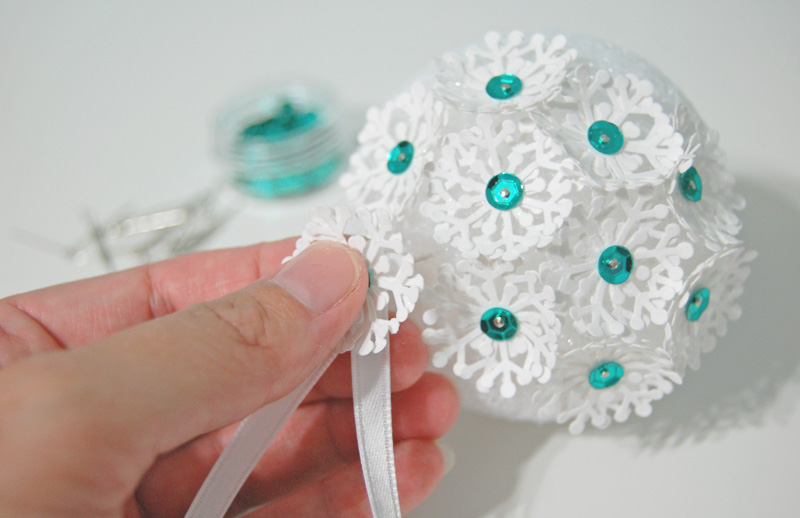
At some point before your ball is covered, just put one of your snowflake-d pins through the ends of a loop of ribbon…
…and pin it down. (I like to add a little glue to the end of the pin before pushing it into the foam ball, for some added security).
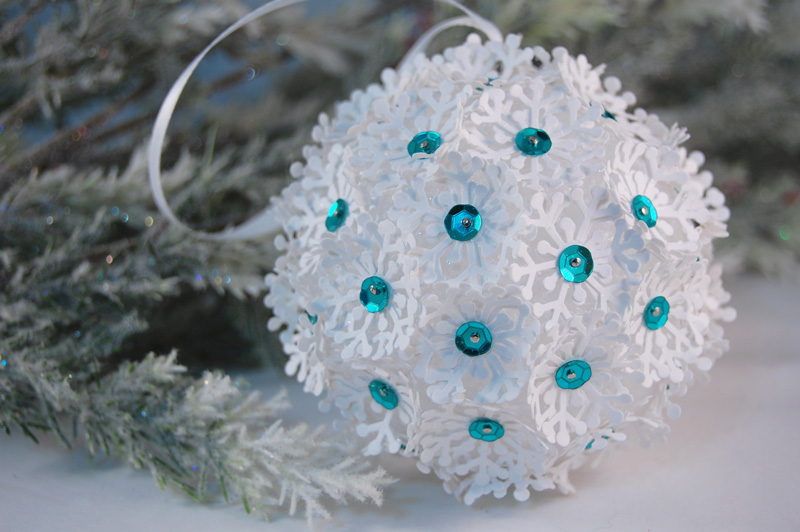
And once the entire ball is covered…your ornament is done! How awesome and simple is that?!
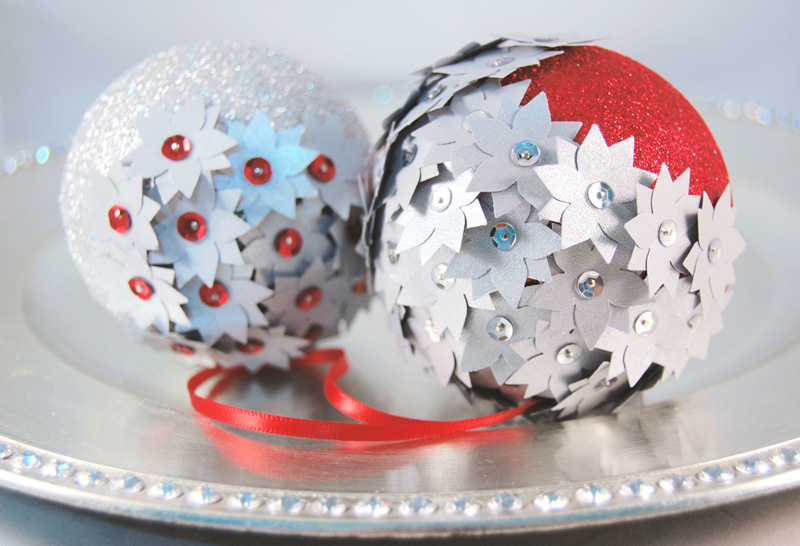
These would look so cute on the Christmas tree…or a few grouped together in a bowl…just think of all the things you could do. Maybe some tiny beads instead of sequins…different colors and patterns and shapes of cardstock…
Or something a little dressier? A shimmery red and silver tablescape idea, perhaps?
Tell me what you think! Any other ways to vary this idea up?
P.S. Here’s a pinnable!


[…] theornamentgirl.com […]
What a great idea, I’ll bet my granddaughters would really enjoy making these. Thanks for sharing.
[…] theornamentgirl.com […]
[…] theornamentgirl.com […]
LOVE THIS!! Can’t wait to show and make with my 6 year old granddaughter. Thank you for sharing.
This is beautiful! I did a different kind of flower ball pattern for my wedding but I used Martha Stewart punch too. Very similar way to do.
I’m going to try to do this next Christmas, it’s so cute! Thank you for sharing.
me encanta la idea, te dire que yo suelo recortar los bordes de las blondas de las tartas, tienen formas diversas y quedan muy bien, yo por ejemplo no tengo ninguna traladadora y me apaño como puedo jajaajaaj te han quedado preciosos
[…] theornamentgirl.com […]
How did you get the flake turn up on the edges?
Hi Marilyn, Staci believes it just happened from the punch and from placing them close together. I hope that helps? Happy ornamenting. Janelle
[…] ornament tutorial you’ll surely love! Decorate your Christmas tree with these beautiful snowflake ornament, made with a Paper […]
[…] White paper snowflakes made from paper can be surprisingly beautiful and cost-effective would add beauty and elegance to both your tree and home for the Christmas season. Or you can also get your kids involved to this craft and let them make the holiday gifts by their hands! They will enjoy making these. Tutorial: The Ornament Girl […]
Thanks for the instructions! I’m so going to try this! They are adorable and just a tad elegant!
I love the ornaments you make. Can’t afford to join, but that you for the free patters/directions. THANK YOU!!!
[…] Paper Snowflake Christmas Ornament Photo by The Ornament Girl […]
[…] White paper snowflakes made from paper can be surprisingly beautiful and cost-effective would add beauty and elegance to both your tree and home for the Christmas season. Or you can also get your kids involved to this craft and let them make the holiday gifts by their hands! They will enjoy making these. Tutorial: The Ornament Girl […]
[…] Adorn your Christmas tree with these easy-to-make snowflake ornaments using a paper punch! See the instructions via the ornament girl. […]
Absolutely love this idea. Wish I had seen this a couple of weeks ago when my niece and her family came for a Christmas visit. I could have had the two littles occupied for hours on our rainy winter days. Will definitely work on something like this to use up some of my extra foam balls.
[…] Click here for instructions […]
This ornament is so clever. Thank you for sharing it with us. I just discovered this site and I’m pleasantly surprised to discover that the ideas just keep on coming. I think it is love at 1st sight with me and this web site. I went shopping at the Dollar Store and Holly Lobby today to get the supplies for the free ornament you gave us the pattern for. I’ll try to post the results after I finish it. Again, thank you very much for sharing your talent with us and giving us the free pattern to get us started.
Judy, I’m so happy to read your comment! Thank you! I’m glad you like the ornament ideas. I definitely hope you’ll let me know how your ornament comes out!
Hi. I have never been taught to knit,see or crochet and I really regret that. I have tried to teach myself patchwork but it didn’t turn out too well. Your ornaments are beautiful and I am determined to learn how to make one. Living alone and being stuck indoors going crazy I feel this could be my salvation. Thank you for sharing
Hi Tina, I hope you LOVE making them! I think you will! Have you watched our free basic star video series yet? If not, you can sign up for free for that series and learn how to make a basic start ornament! https://ornamentgirls.com/basic-star-workshop/ As someone who crochets here and there I can tell you, making ornaments came much more naturally! And the tutorials Staci Ann and the design team put out are so easy to follow and understand. If you get started making the ornament and run into any questions, will you let me know? I’m happy to answer any questions you may have. And you’re always welcome to send us an email, too, if you need to reach us. https://theornamentgirl.com/blog/contact/ Happy ornamenting, and have a great weekend! Janelle
What size of sequins and length on straight pin? Thank you
[…] Use this as a decoration or as an ornament to give as a gift from The Ornament Girl […]
[…] Use this as a decoration or as an ornament to give as a gift from The Ornament Girl […]
Quedan preciosas ,me gustan muy amable
Gracias !
Hi Martha, thank you so much! So glad you love them. I hope you have a nice day!
[…] Image Source/Tutorial: The Ornament Girl […]
Very Cool!
and sooooo Pretty!! ??????